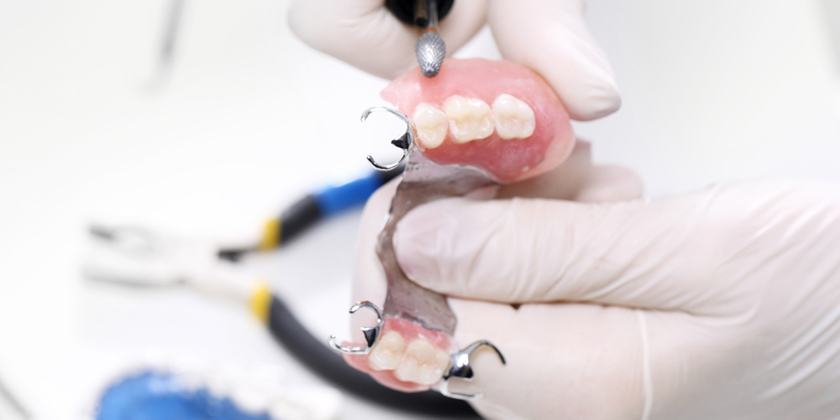
Fitting fresh crowns into current partial dentures can be a major hassle for dentists, especially those who don’t perform the procedure regularly. Many dentists consider it to be the hardest technique in dentistry, and one reason attributed to this is the array of methods that have been developed to do it. These techniques can be broken down into three broad types, which are indirect, combination and direct. In the most optimal scenario, partial denture removal will occur once the required crown is positioned onto the teeth which are providing support to the denture. However, if you choose the right tools and approach, there are additional ways to make it a whole lot easier.
Preliminary Steps
The first thing you’ll need to do is prepare the teeth. Next you’ll want to make a standard impression of the crown. Once this phase is complete the dentist should squirt some Blu Mousse on the tooth that has been prepared and then a partial denture can be seated. Rapidly, use your finger to get rid of any excess Blu Mousse that is present so the patient’s occlusal rest is visible. Give the Blu Mousse time to set.
Many dentists like using Blu Mousse since it is the perfect vinyl polysiloxane for making bite impressions. It is exceptionally accurate, has a hardness which has been compared to plaster (approximately eighty five durometers), and is extremely dependable, free of slump, and consistent. It will cover most standard bite registrations and as such can be used in the majority of contemporary digital impressions.
Once the BM sets the partial should be removed. Trim away excess Blu Mousse carefully using a parker bard blade and then tease out the impression from beneath the RPD. Set aside the BM rest and clasp impression, then send the case to a laboratory so that the models can be poured. Be sure to request for the models to be returned.
Cutting The Index Groove
Next an index groove must be cut into the model’s edentulous region, then seat the impression of the BM clasp onto the die. Now you will want to get a Luxatemp and flow blob on the index that was cut previously inside the edentulous region. This will be the base. Flow it upward into the distal plane, on an occlusal rest, then onto the clasp regions. It should be slightly over built so that the clasps are stronger.
Remember, Luxatemp is slightly brittle, and the dentist should be focused on the clasp’s internal aspect so that the contours of the crown can be constructed. Send lots of pictures to your lab techs so that it is easy for them to understand how the plastic must be used. An index groove within the edentulous area will make accurate placement and orientation much easier. Once everything is in order, the case should be again sent to the lab.

