Porcelain veneers can help with teeth issues such as discolored teeth, chipped teeth, and cracked teeth, to name a few. If your dentist has suggested porcelain veneers, you may be wondering about the detailed procedure of getting them and the prep work involved. Fret not! Here’s a guide to the porcelain veneers procedure to set your mind at ease.
Step 1: Getting Your Tooth Prepared
Porcelain veneers stick to the front part of your teeth. To prepare the tooth, the enamel of that tooth will be trimmed back to roughly the same thickness as the veneer that will be attached to it. This ensures that the thickness of your tooth will not be dramatically increased once the porcelain veneer has been bonded to your tooth. Before getting porcelain veneers, issues like tooth decay need to be addressed first. An anesthetic may be needed during the procedure depending on your tooth sensitivity and the position of the veneers.
Step 2: Determining the Color
The color of the porcelain veneers should match the color of your teeth as closely as possible. Your dentist will determine the exact shade using their shade guide. This will ensure that your porcelain veneer looks just like the rest of your teeth.
Step 3: Taking the Tooth Impression
Your dentist will take an impression of your tooth as well as the surrounding gums and teeth. The impression will be used to fabricate your porcelain veneers. This is done after the enamel trimming has been completed, and is usually taken using a type of putty. Another option is a dental milling machine and camera used to take an optical impression of your tooth.
Step 4: Wearing a Temporary Veneer
If your porcelain veneers are fabricated by an external lab, you will have to wait for around two weeks. During this period, you may have to wear a temporary veneer, especially if a significant amount of enamel or tooth structure had to be trimmed.
Step 5: Evaluating the Fit, Shape, and Color Prior to Cementation
Your dentist will evaluate how your porcelain veneer sits on your teeth by setting it in place, removing it, and trimming where necessary. They will also evaluate the shape and color of the porcelain veneer and you will both determine whether it is ideal for you. A trial paste is usually used for this.
Step 6: Bonding the Porcelain Veneer
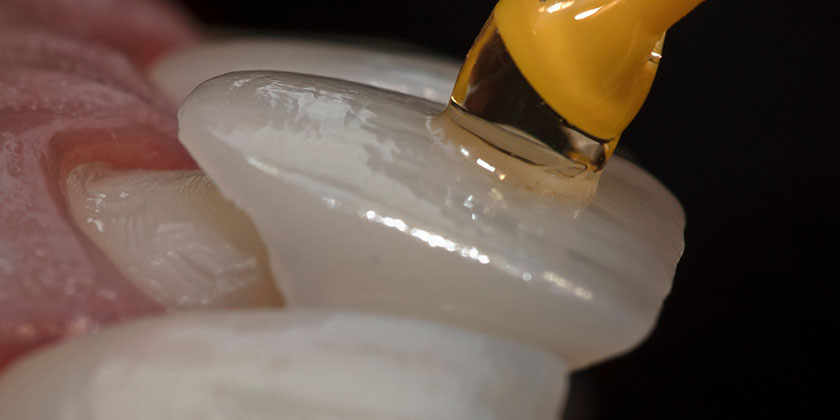
After you and your dentist have determined the right shape and color of the porcelain veneer, it can then be bonded into place. The trial paste will be removed and your tooth will be washed and etched accordingly so that the rough surface ensures secure bonding. Bonding gel and cement are then used to bond the veneer into place.
Step 7: Wrapping it Up
Once the porcelain veneer is securely attached to your tooth, your dentist may floss or scrape any excess cement and polish the veneer as needed. They will evaluate your bite to make sure that it has not been altered by your new veneer.
That’s it! You are now ready to take the step towards getting porcelain veneers. To learn about maintaining porcelain veneers, or to speak with us, contact us here.

